In 2016 some of us entered a competition called Kidspreneur when we were in Year 4. Our teams did very well in the competition and our teacher bought a 3D printer with some of our prize money.
This year Mrs. Rao and Mrs. Layton-Smith organised our group to participate in the Prosthetic Kids Hand Challenge. We have three prosthetic hand teams. Two teams with five students and one team with six people.
Since none of us knew anything about 3D printing or prosthetic hands to start with, we have all been learning together. It took us a long time to assemble our printer - a Flashforge Creator Pro - and to learn how to use it. We also needed to understand how to assemble the hands We are now at the point (2nd week of August 2017) where we have almost completed assembly of one hand (!) and will hopefully be able to send it off to America soon.
SETTING UP THE PRINTER
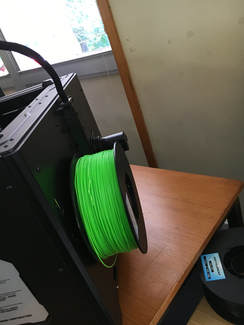
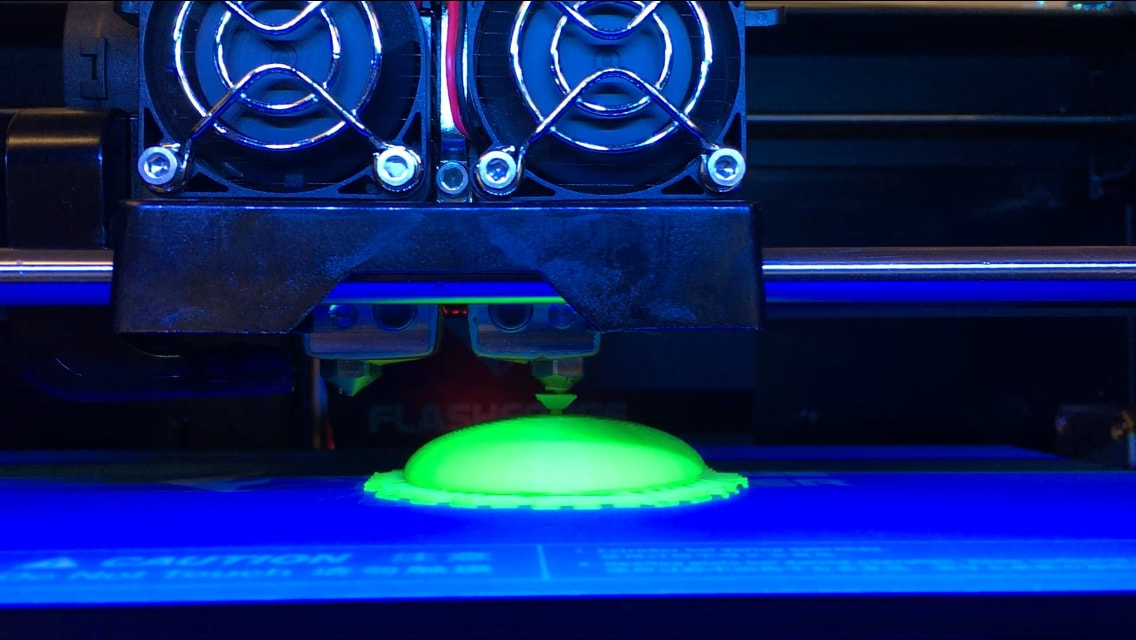
Our printer is a Flashforge Creator Pro. It has dual extruders - that means it can print in two different colours - we haven't used this feature yet but it could be exciting. Our first hands have been printed using this bright green ABS filament.
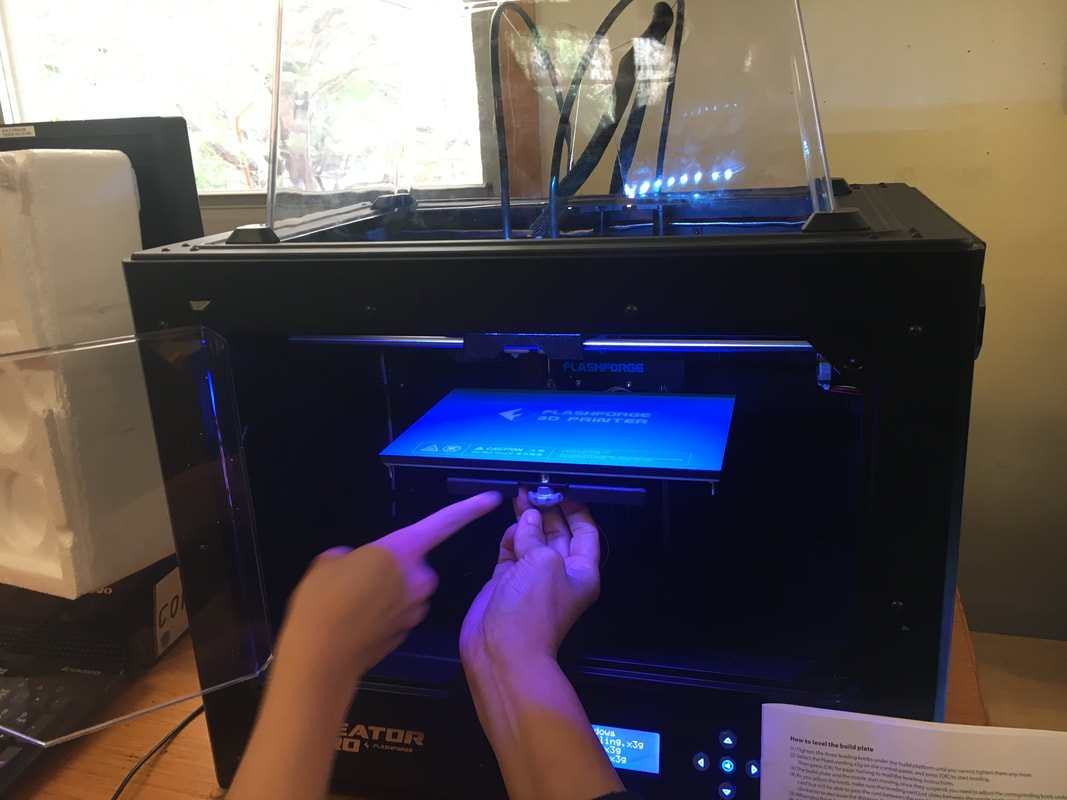
One of the biggest issues we have had is levelling the build plate - this is the plate that the printer prints onto. It has cost Mrs. Rao many hours, days and weeks of her life!!
One of the biggest issues we have had is levelling the build plate - this is the plate that the printer prints onto. It has cost Mrs. Rao many hours, days and weeks of her life!!

|
|
|
Our First Prints!
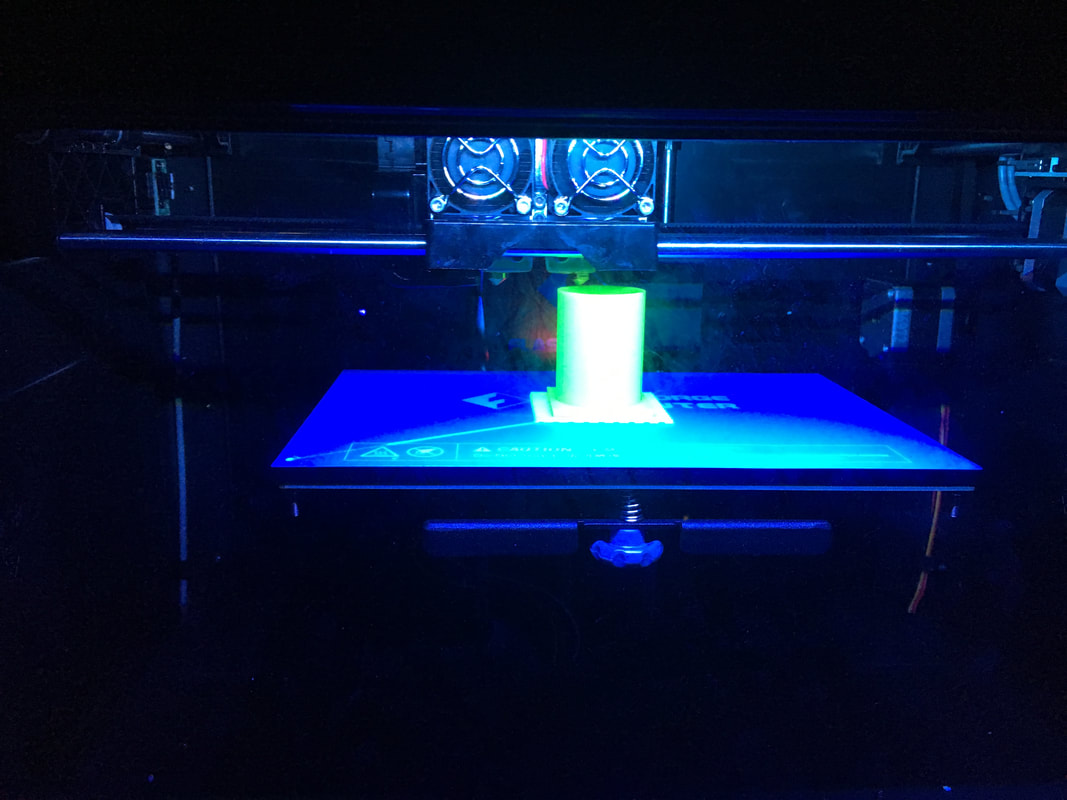
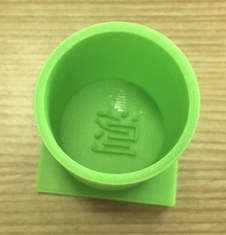
We printed a test print from the printer which was a small cylinder with the word "Test" in Chinese on the inside. It worked perfectly and we were very excited. We then printed a logo designed by Hannah on Tinkercad. This is a great website to get started with 3D design - and all free!
Hannah's logo had a flattened dome shape topped by an upside down pyramid. It was all looking great until the pyramid toppled over! Another great lesson for us in 3D design and the importance of weight and balance and connections between pieces.
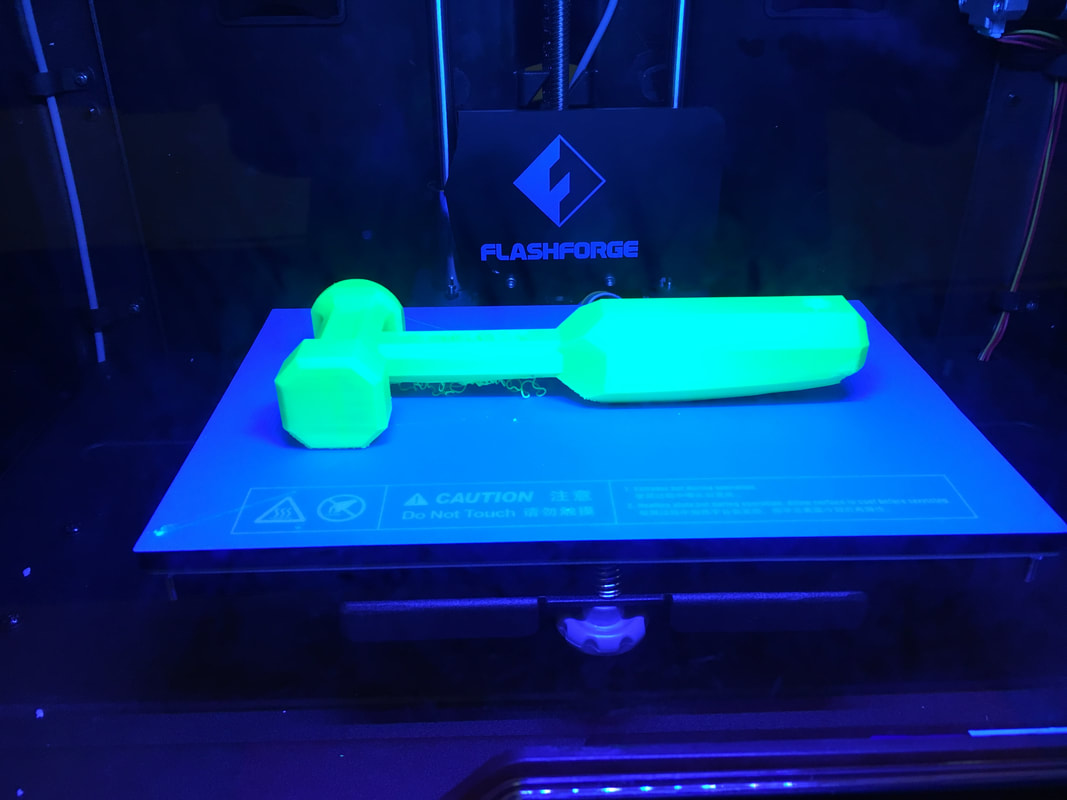
We also printed a Thwack from Thingiverse.
Hannah's logo had a flattened dome shape topped by an upside down pyramid. It was all looking great until the pyramid toppled over! Another great lesson for us in 3D design and the importance of weight and balance and connections between pieces.
We also printed a Thwack from Thingiverse.
|
|
|
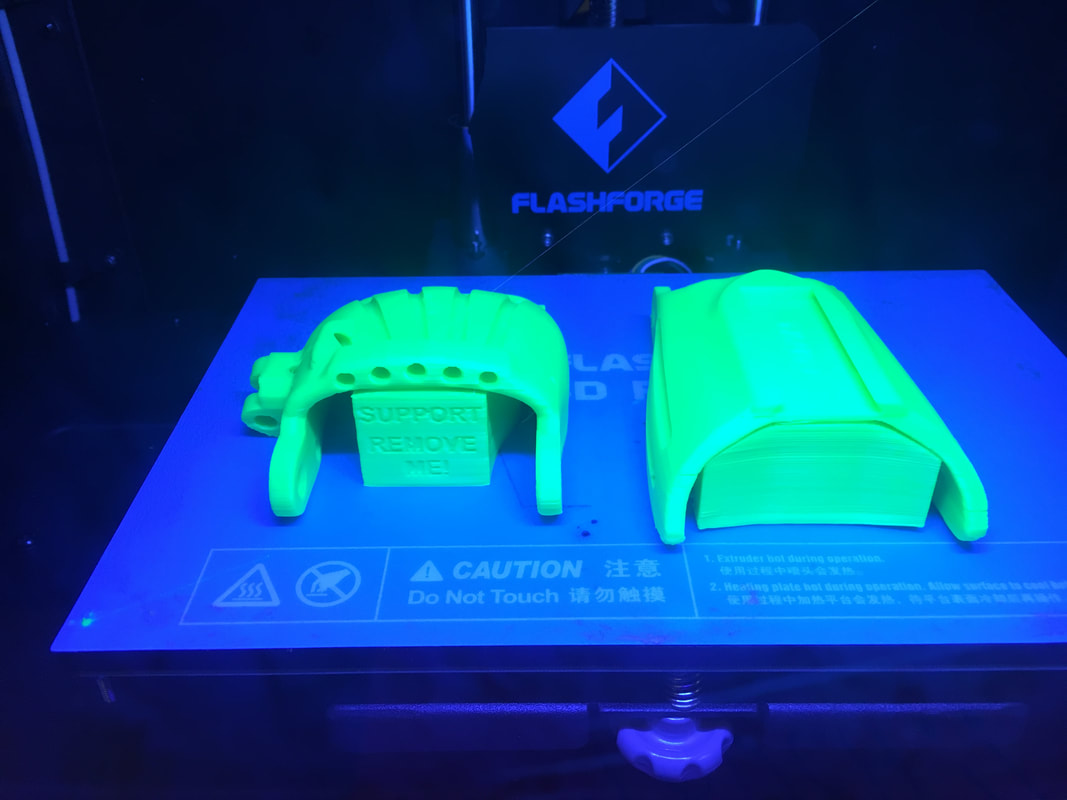
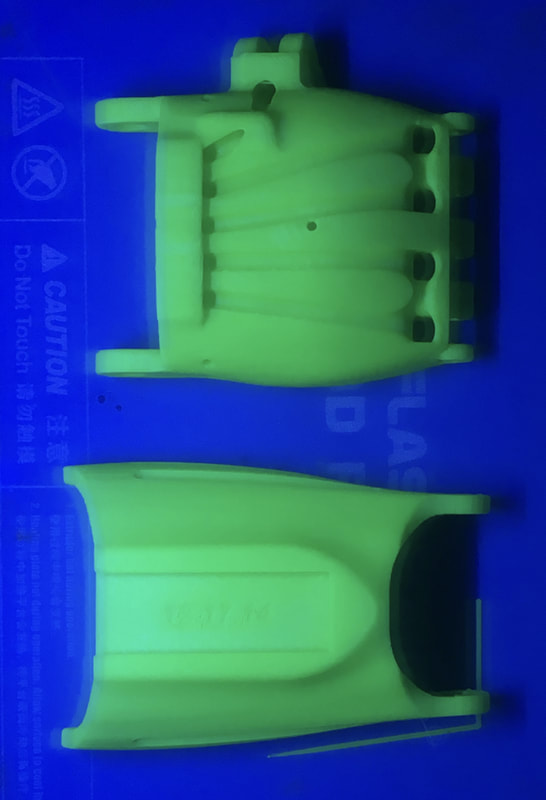
And Finally the Hands!!
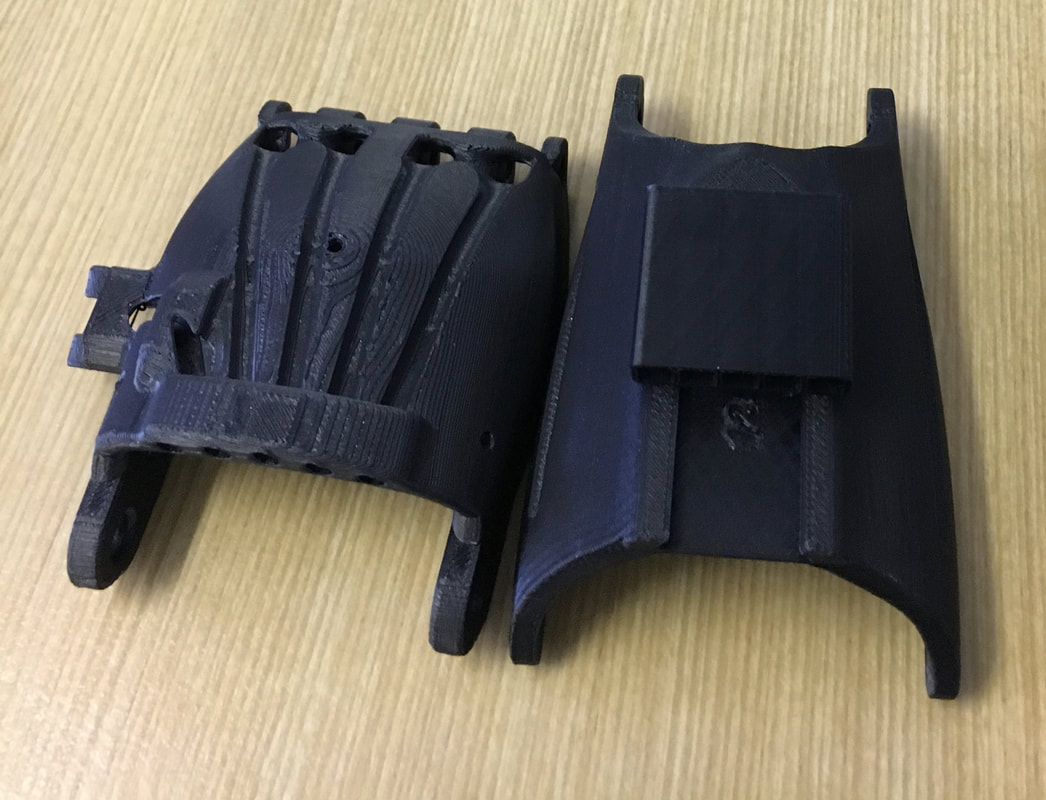
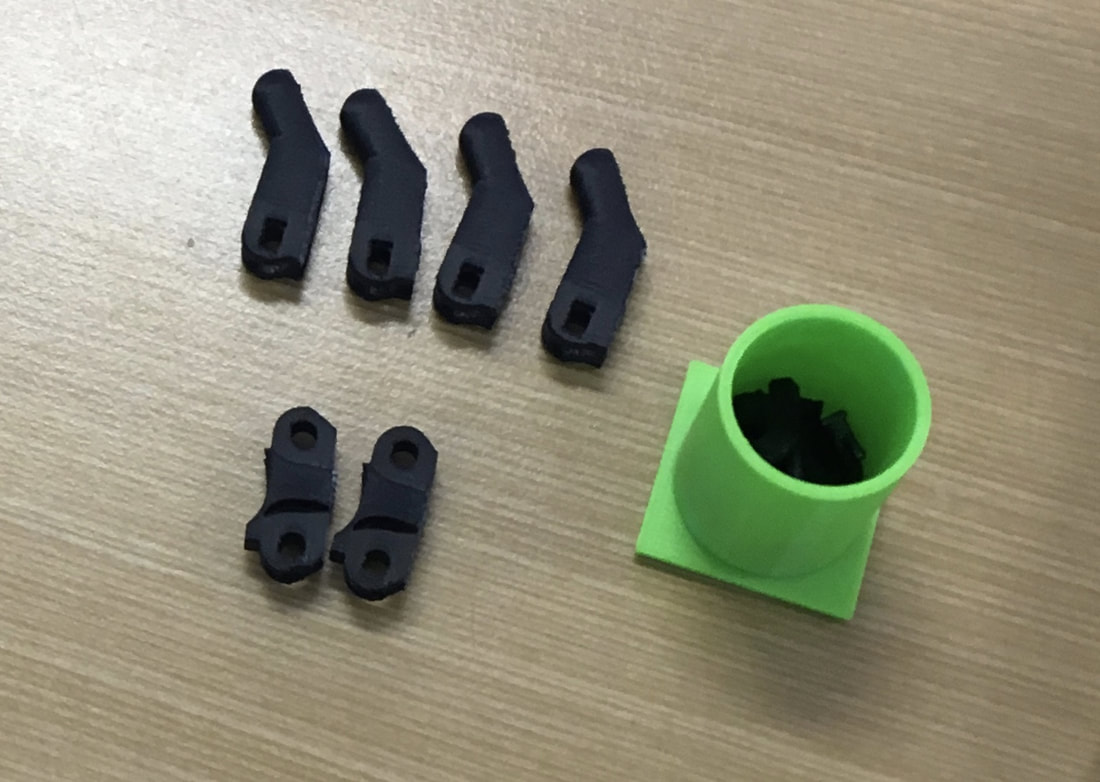
We weren't sure how big the hands were and if they would fit on our build plate so we printed the palm and gauntlet first, and then all the smaller parts next. This first black print will form our display hand in any publicity we do for our group.
|
|
Assembling the Hands
Assembling the hands is more complicated than we imagined. There are different thicknesses of string that need to be cut and strung through the fingers, palm and gauntlet. We also found it hard to cut the jewellery or braided wire cleanly until Mrs. Rao found a good source of wire and a wire cutter in a fishing supplies shop. We are almost there!!

|
|
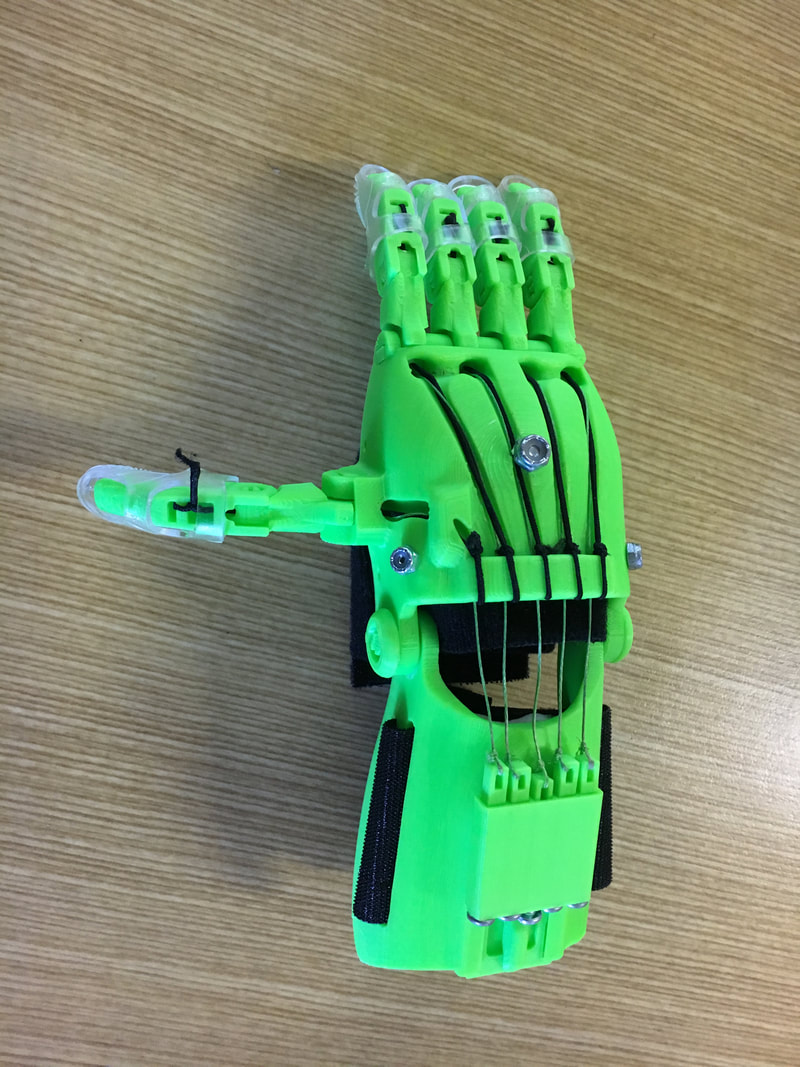
And we have our first hand....!!!
It was very exciting to complete our first hand and see exactly how it works. It is designed for children who have a functioning wrist. The flexing and bending of the wrist provides the grip in the fingers.
We have printed 2 more hands and are now waiting to assemble them.
We have printed 2 more hands and are now waiting to assemble them.
By the way if you are interested in science - check out our excellent school science website that our science teacher spends her time maintaining for the benefit of all of the children in Castle Cove Public School.
It's full of interesting information, videos and activities. You might also see us doing fun science work in our classes.
It's full of interesting information, videos and activities. You might also see us doing fun science work in our classes.